Motivation
Nuget is a great tool to manage packages and their dependencies. Wouldn't it be great to use it for your own projects? "Why would I?", you ask. Imagine if you have a Webservice int Server.sln and a separate project Client.sln. Client might develop the need to consume one or more sub-projects of Server (for instance transfer objects or interfaces). Also you might want to integrate the Client in other projects so that they can use it's API.
Of course you could reference the *.csproj project from every solution that needs it, but this might lead an unfamiliar developer to change this project and unknowingly break the other projects. That is if he can even get the solution to load as this shared *.csproj might be in an entirely different repository.
NuGet can solve these problems, by allowing us to put shared code into a separate package which can be versioned and maintained with NuGet. The process is extremely simple and can be described in just three steps.
Creating NuGet packages
Step 0: Download and install NuGet
If you don't have nuget.exe already, download it from here. It's best to put it in a PATH location like c:\windows. Now you're ready to go.
Step 1: Create a manifest
Before you can build packages from your project, you have to create a package manifest *.nuspec file. Just go into the directory of your *.csproj, open a command shell and type nuget spec.
You should do a quick edit of this file and remove tags with information you don't want to provide. Make sure you leave the $properties$ in there, as they get generated form you projects properties. After editing, it might look something like this:
<?xml version="1.0"?>
<package >
  <metadata>
    <id>$id$</id>
    <version>$version$</version>
    <title>$title$</title>
    <authors>$author$</authors>
    <owners>$author$</owners>
    <requireLicenseAcceptance>false</requireLicenseAcceptance>
    <description>$description$</description>
    <copyright>Copyright 2017</copyright>
  </metadata>
</package>
Open your project properties in Visual Studio and fill in some information. Also note that the version provded here will also be the version of your package. If there is a package found with a higher version number, nuget will inform the consumer about updates.
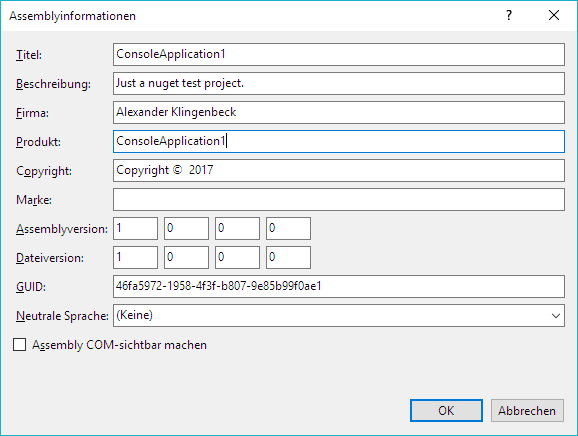
Make sure to rebuild your project after this!
Step 3: Building the package
Go back to your project directory and simply type nuget pack. Thats all and you should find your project neatly packaged into a *.nupkg file. This package is also aware of all the dependencies you installed via nuget and will install them alongside with itself.
You can also try to change the version number in Visual Studio and see that there is a new package emited after rebuilding and repacking.
Publishing your package
I can think of three ways you can publish your package:
- Pushing it to the offical nuget feed.
- Pushing it your custom nuget feed / server.
Just putting it somewhere on the filesystem (e.g. a Windows share)
The first two are interesting topics for a future post. The later is super simple and I will quickly show how to make it happen.
Create a new folder e.g. Z:\nuget.
- Copy all your packages here. Don't delete old versions. NuGet will automatically detect them.
Configure Visual Studio to use this folder as a source. Right-click on the project > "Manage NuGet packages" > "Package source" > "Settings". Create a new source and supply the path to your folder
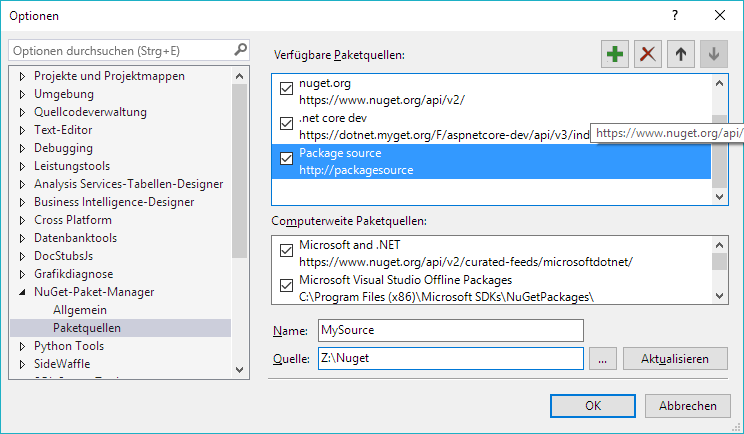
Now you can choose your custom source from the dropdown menu and see your own packages just like every other package.